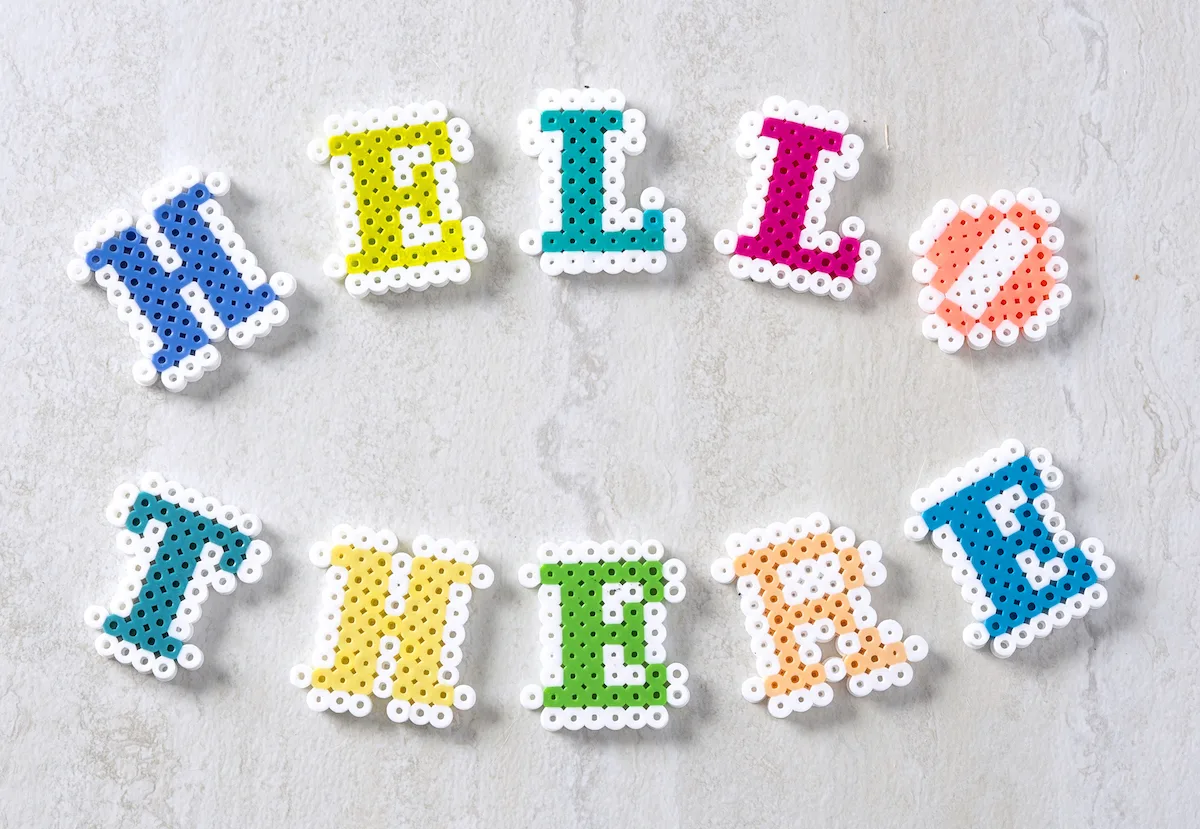
Arykal Bead Letters (Six Alphabets)
It’s easy to make Artkal bead letters and then turn them into words or phrases! Get six alphabets here and use them in lots of projects.

I know you’re going to think I’m crazy – but maybe you can relate – I’m absolutely obsessed with fonts. In fact, picking typefaces is one of my favorite things to do as a blogger.
But it takes me a long time.
I’ve made new car choices and signed job offer letters in a shorter time frame than it typically takes me to select a font for a project. I wish I were kidding.
And it turns out, there’s a reason! At least for me.

Fonts are emotional. They evoke feelings deep within us! In fact, there’s an entire book called “Why Fonts Matter” that explains it:
“They’re hidden in plain sight, but they trigger memories, associations and multi-sensory experiences in your imagination. You may not believe it, but fonts can change the meanings of words right before your very eyes, alter the taste of your food, evoke emotional responses and reveal their users’ personalities.”-Sarah Hyndman, Why Fonts Matter
I love it when real research backs up one of my thoughts or inclinations, don’t you?

With our obsession with perler beads around here, I decided it was time to create some Artkal bead letters. There are six alphabets below that represent a wide variety of styles and applications!
Whether you are looking for something basic, fun, or a little extra, I think one of these six is going to be right up your alley.
And of course you can customize all the colors for your perler bead alphabet. You don’t have to stick with mine.
You can use these perler bead letters in alphabet crafts, magnets, keychains . . . or as a smaller part of another larger project. There are endless applications.

Artkal beads are recommended for ages six and up, so this is a very fun craft to try with your elementary age kids. All children seem to love perler beads (also known as hama beads, fuse beads, or melty beads). But don’t be shy – adults love them too!
Tips for Using Artkal Beads
Before we get into the perler bead letter patterns, I want to review a few basics of using fuse beads to make sure you get the best results. If you don’t want the tips, scroll down to the bottom to get the patterns and tutorial.
Remember that the overall goal is to melt the beads together on both sides while still leaving the holes open. Here’s how you achieve success (with a rainbow as an example).
Use Ironing or Parchment Paper
Place ironing paper or parchment paper over the beads on the pegboard. Be gentle so you don’t disturb the beads underneath.

Heat your iron to the medium setting (no steam). In a circular motion, begin to iron the project. Don’t press down too hard with the iron. Use small circles and keep the iron moving.
When ironed properly, the beads will still have an open center. Check and make sure your edges are melted. If they aren’t, keep ironing.
You can peel up the paper (slowly and carefully), check your design, put it back down again, and continue ironing. Let the design cool on the pegboard.

If you lift the paper up quickly and there are a lot of unmelted beads, they will easily fall off or go flying and you may be forced to start over. Sometimes the edges need more time so when you check, just check the edges and peel paper back slowly.

Another Note: some beads melt faster than others (clear melts faster than white, for example). So some holes might be larger than others. It’s okay! That’s part of the look of the project.
Iron the Other Side
Remove the bead design from the pegboard. Flip it over to the non-melted side and repeat the fusing process.

Remove the Paper
Let cool completely and remove the paper again (which is reusable). Some people pull the paper off after they iron the first side, but I just wait until the end and peel off both pieces. It’s up to you!

Now that you’ve had a refresher on how to melt the beads, you can get the patterns! Keep on reading.
I’m going to show you several options for Artkal letters below using regular square (29 x 29) pegboards.

NOTE: use clear beads to attach punctuation like semicolons and exclamation points, etc. You’ll see some gray squares below in the patterns and you’ll know what I mean. Clear beads are good for any letter or pattern you feel is somewhat flimsy.
You’ll also notice in the alphabet below that the heights of the letters are virtually the same while the widths can vary.
I will give you the approximate maximum width and heights of the letters (which will also vary with the bead brand you use. Just something to keep in mind!


